How to Build an L-Shaped Wooden Desk: A Step-by-Step DIY Guide
Creating a functional and aesthetically pleasing workspace is essential for productivity, especially in a home office setup. An L-shaped wooden desk not only maximizes corner space but also provides ample room for your computer, documents, and other essentials. In this article, we will walk you through how to make an L-shaped desk for your home office, offering practical woodworking tips and a detailed step-by-step L-shaped desk woodworking guide.
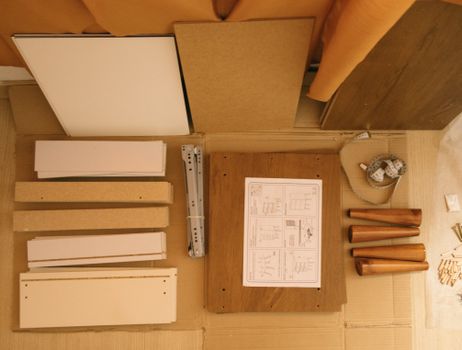
Materials and Tools Needed
- Wood Types for Furniture: Choose from hardwoods like oak, maple, or walnut for durability, or go for plywood for a budget-friendly option.
- Tools: Circular saw, drill, measuring tape, square, and sandpaper.
- Hardware: Screws, brackets, and wood glue.
Step-by-Step Guide to Building Your L-Shaped Desk
Step 1: Planning Your Design
Before you start with desk assembly, sketch out your design. Consider how you want to customize your L-shaped desk design to fit your space and needs. Will you include storage options? How large does the desk need to be? Take measurements of your workspace to ensure a perfect fit.
Step 2: Gathering Materials
Once you have your design, gather your materials. If you’re looking for affordable L-shaped desk plans, consider using plywood for the desktop and solid wood for the legs and support structure. Each piece should be cut according to your design specifications.
Step 3: Cutting the Wood
Using a circular saw, cut your wood pieces according to the measurements you've taken. Make sure to double-check your cuts to ensure accuracy, as precision is crucial in desk construction.
Step 4: Assembling the Desk
Start by attaching the legs to the longer side of the desk. Use brackets and screws for a sturdy connection. Next, connect the shorter side of the desk to the longer side. At this stage, apply wood glue to enhance stability and allow it to dry before proceeding.
Step 5: Adding Storage Solutions
If you opted for a DIY L-shaped desk with storage, now is the time to attach shelves or drawers. These features will help with workspace organization, keeping your area tidy and functional.
Step 6: Sanding and Finishing
Once your desk is fully assembled, use sandpaper to smooth out any rough edges. This step is crucial for achieving a professional finish. After sanding, apply your choice of stain or paint to enhance the appearance of your desk.
Step 7: Final Touches
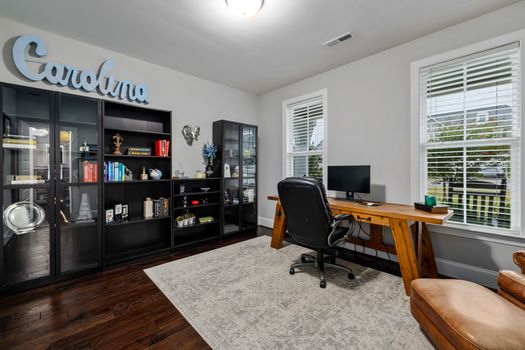
After the finish has dried completely, place your desk in your desired location. Add your computer, office supplies, and any decorative elements to complete your home office setup.
Practical Woodworking Tips
- Always measure twice and cut once to avoid mistakes.
- Use clamps to hold pieces in place while the glue dries.
- Consider ergonomic desk height to ensure comfort while working.
Frequently Asked Questions
1. What is the best wood for an L-shaped desk?
The best wood for an L-shaped desk depends on your budget and desired aesthetics. Hardwoods like oak and maple offer durability, while plywood is a great affordable option.
2. Can I build an L-shaped desk without prior woodworking experience?
Yes, with the right tools and our step-by-step L-shaped desk woodworking guide, even beginners can successfully build a sturdy desk.
3. Where can I find L-shaped desk plans?
You can find affordable L-shaped desk plans from various sources online, including platforms like Ted's Woodworking, which offers detailed guides and blueprints.
Conclusion
Building an L-shaped wooden desk is a rewarding project that enhances both your workspace and woodworking skills. With careful planning, the right materials, and our comprehensive guide, you can create a beautiful desk that meets all your needs. For more woodworking projects and organization tips, check out our article on DIY Built-in Home Office Shelving Plans for Maximum Workspace Organization.
🔨 Want 16,000+ Woodworking Plans?
Ted's Woodworking gives you instant access to over 16,000 step-by-step plans with detailed blueprints, cut lists, and material lists for every project.
Get Instant Access →