Introduction
Are you looking for an easy and stylish way to organize your spices? A DIY wooden spice rack is the perfect solution! Not only does it add a touch of rustic charm to your kitchen decor, but it also provides a functional wooden storage solution that keeps your spices within reach. In this article, we will guide you through simple DIY spice rack plans, offering a step-by-step spice rack tutorial that is perfect for woodworking projects for beginners.
Step-by-Step Guide to Building Your Wooden Spice Rack
Materials Needed
- Wood boards (pine or oak recommended)
- Wood screws
- Wood glue
- Sandpaper
- Wood stain or paint (optional)
- Measuring tape
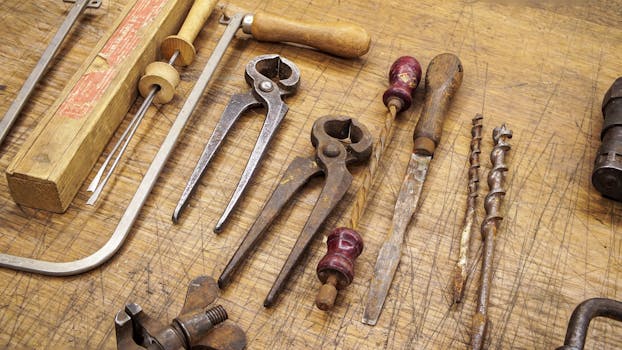
- Saw (hand saw or power saw)
- Drill
Step 1: Measure and Cut Your Wood
Start by measuring the space where you plan to install your spice rack. A standard size for a spice rack is around 24 inches wide and 30 inches tall, but you can customize it to fit your kitchen. Cut the wood boards accordingly:
- Two pieces for the sides
- One piece for the top
- One piece for the bottom
- Two or three shelves, depending on your preference
Step 2: Assemble the Frame
Using wood screws and wood glue, attach the top and bottom pieces to the sides. Make sure everything is square and aligned properly. This frame will serve as the foundation for your spice jar holder.
Step 3: Attach the Shelves
Decide the height of each shelf and mark the positions on the side pieces. Drill holes for the shelf supports, then insert the shelves. Secure them with wood glue for added stability.
Step 4: Sand and Finish
Sand the entire spice rack to create a smooth surface. If you desire, apply wood stain or paint to match your kitchen decor. This rustic kitchen accessory will not only be functional but also visually appealing.
Step 5: Install the Spice Rack
Once your spice rack is complete and dry, it’s time to install it in your kitchen. Use wall anchors and screws to securely attach it to the wall. Make sure it’s at a comfortable height for easy access to your spices.
Practical Tips for Spice Rack Organization
To maximize the functionality of your DIY wooden spice rack, consider the following spice rack organization tips:
- Use clear spice jars to easily identify contents.
- Label each jar for quick access.
- Group spices by type (e.g., herbs, spices, blends).
- Consider adding a small chalkboard or magnetic strip for notes.
For more advanced woodworking projects, check out Ted's Woodworking for detailed plans and ideas.
Frequently Asked Questions
1. What type of wood is best for a spice rack?
Pine and oak are excellent choices due to their durability and aesthetic appeal. Choose a wood that complements your kitchen decor.
2. How do I ensure my spice rack is sturdy?
Use quality wood screws and wood glue during assembly. Additionally, ensure that the weight of the spices is evenly distributed across the shelves.
3. Can I customize the size of my spice rack?
Absolutely! Customize the dimensions based on your available space and personal preferences. This is one of the benefits of creating a DIY spice rack.
Conclusion
A DIY wooden spice rack is an excellent addition to any kitchen, providing both functionality and style. With our step-by-step spice rack tutorial, you can easily create a custom spice rack that fits your needs and enhances your kitchen decor. For more kitchen DIY inspiration, check out our article on how to build kitchen cabinets from scratch or explore our guide on DIY wooden knife block and utensil holder. Happy woodworking!
🔨 Want 16,000+ Woodworking Plans?
Ted's Woodworking gives you instant access to over 16,000 step-by-step plans with detailed blueprints, cut lists, and material lists for every project.
Get Instant Access →