Introduction
Are you looking to add texture and warmth to your home? Wood paneling is an excellent way to enhance your interior design and create a cozy atmosphere. Whether you're renovating a single room or your entire home, installing wall panels can be a rewarding DIY project. In this guide, we will walk you through the process of how to install wood paneling on walls with practical tips and techniques to ensure a successful installation.
Step-by-Step Wood Paneling Installation
Follow these steps to achieve a beautiful wood paneling wall:
Step 1: Choose Your Wood Panel Type
Before you get started, you'll need to select the right wood panel types for your project. Here are some popular options:
- Veneer Panels: Thin layers of wood glued over a substrate, offering an elegant look at a lower cost.
- Solid Wood Panels: Durable and timeless, these panels add value and warmth to your home.
- Plywood Panels: Versatile and easy to work with, plywood is a great choice for a rustic look.
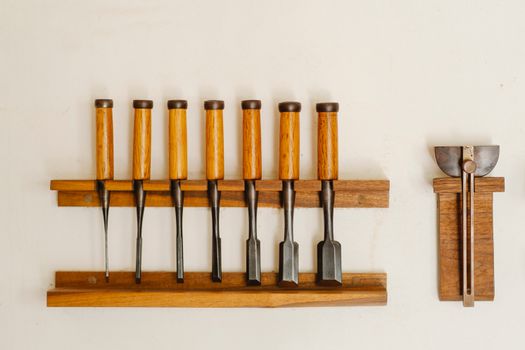
Step 2: Gather Your Tools
Having the right tools is essential for a smooth installation. Here’s a list of the best tools for wood paneling installation:
- Measuring tape
- Level
- Stud finder
- Circular saw or jigsaw
- Nail gun or hammer
- Construction adhesive
- Safety goggles and gloves
Step 3: Prepare the Wall
Before installing your wood paneling, it’s important to prepare the wall:
- Remove any existing wall coverings.
- Fill in any holes or imperfections with spackle.
- Ensure the wall is clean, dry, and free of dust.
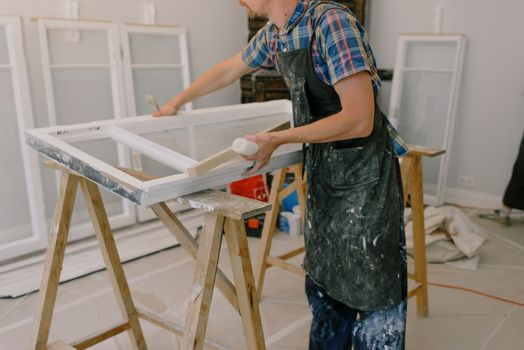
Step 4: Measure and Cut Panels
Measure the height and width of your wall. Cut your wood panels to size using a circular saw or jigsaw. Make sure to wear safety goggles during this process to protect your eyes.
Step 5: Install the Panels
Start from one corner of the wall and work your way across. Here’s how:
- Use a stud finder to locate wall studs and mark their positions.
- Apply construction adhesive to the back of the panel.
- Position the panel against the wall, ensuring it is level.
- Secure the panel with a nail gun or hammer, nailing into the studs.
Step 6: Finishing Touches
Once all panels are installed, you can add trim or molding to complete the look. Consider painting or staining your panels for a customized finish.
Practical Tips for Beginners
If you're new to woodworking, here are some wood paneling installation tips for beginners:
- Start with a small area to practice your techniques.
- Always double-check your measurements before cutting.
- Use a level frequently to ensure panels are straight.
- Watch tutorial videos for visual guidance.
Frequently Asked Questions
1. What is the cost of DIY wood paneling?
The cost of DIY wood paneling can vary widely based on the type of wood you choose and the size of the area being covered. On average, you can expect to spend anywhere from $1 to $5 per square foot for materials.
2. How long does it take to install wood paneling?
Depending on your experience and the size of the project, installing wall panels can take anywhere from a few hours to a couple of days. Allow yourself plenty of time to complete the job without rushing.
3. Can I install wood paneling over drywall?
Yes, you can install wood paneling over drywall. Just ensure that the drywall is in good condition and securely attached to the studs.
Conclusion
Transforming your home with DIY wood paneling can be a fulfilling project that adds character and warmth to your living space. With the right preparation, tools, and techniques, you can achieve a professional-looking installation. For more woodworking inspiration, consider checking out DIY Wood Window Trim Installation and DIY Wooden Interior Door Installation. If you’re looking for comprehensive woodworking plans, Ted's Woodworking offers a variety of resources to help you get started on your next project.
🔨 Want 16,000+ Woodworking Plans?
Ted's Woodworking gives you instant access to over 16,000 step-by-step plans with detailed blueprints, cut lists, and material lists for every project.
Get Instant Access →